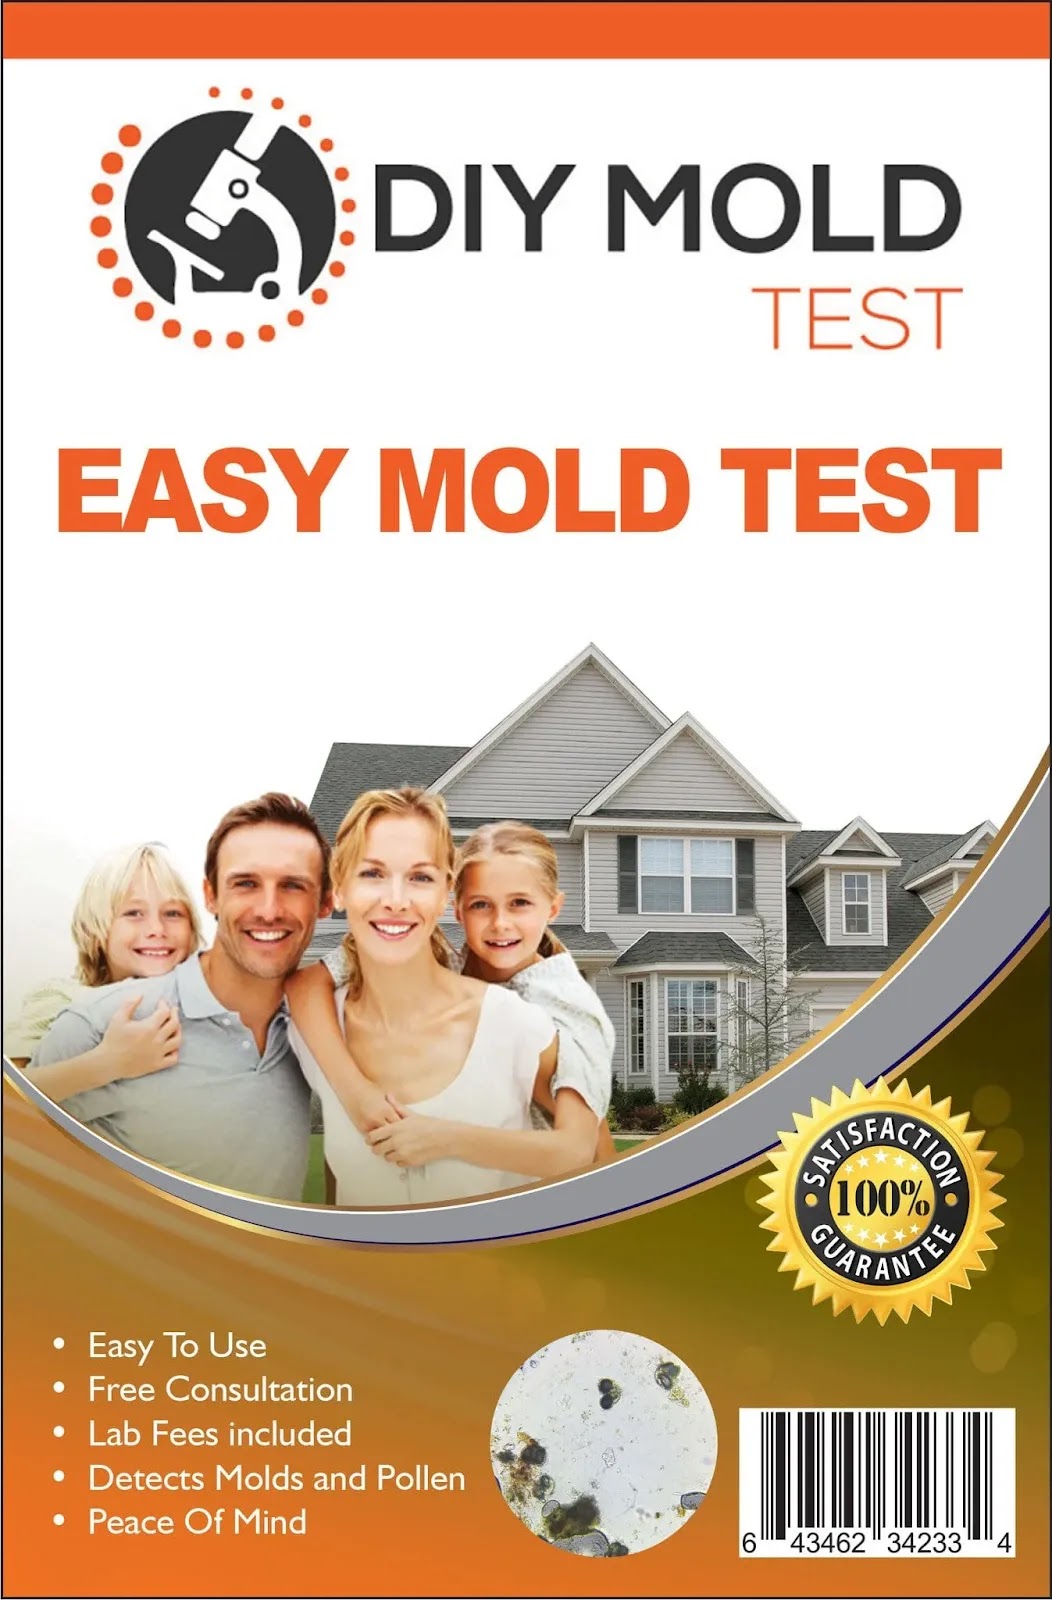
How to Use a DIY Mold Test Kit for a Healthier Home?
Have you ever noticed a musty odor or unsightly spots on your walls or ceiling? Mold can be a common problem in homes, and it's essential to address it promptly for the health and well-being of your family. One way to determine if you have a mold issue is by using a DIY mold test kit. In this article, we will explore how to use a DIY mold test kit effectively to assess and identify potential mold problems in your home.
Before we delve into the specifics of using a DIY mold test kit, it's crucial to understand what mold is and why it can be harmful. Mold is a type of fungus that thrives in damp and humid environments. It can grow on various surfaces, including walls, ceilings, carpets, and even furniture. Mold can release tiny spores into the air, which, when inhaled, can lead to health problems such as allergies, respiratory issues, and skin irritation.
Step 1: Preparing for the Test
The first step in using a DIY mold test kit is to gather all the necessary materials. Most mold test kits include a petri dish or swab, a growth medium, and detailed instructions. Additionally, you will need a ladder, gloves, and a mask to protect yourself while collecting samples.
Step 2: Identifying Potential Mold Sites
To identify potential areas of mold growth, look for signs such as water stains, discoloration, or a musty odor. Common areas where mold tends to thrive include bathrooms, basements, and areas near leaks or water damage. Once you've identified these areas, proceed to collect samples.
Step 3: Collecting Mold Samples
Put on your gloves and mask, and carefully follow the instructions provided in the DIY mold test kit. In most cases, you will use the swab or petri dish to collect samples from the suspected moldy areas. Be sure to label each sample accurately to keep track of where they were collected.
Step 4: Allowing Samples to Grow
After collecting the samples, place the petri dish or swab in a designated area as instructed in the kit. Mold spores require time to grow, and you may need to wait a few days or weeks to observe any significant growth. During this time, ensure that the environment remains undisturbed.
Step 5: Analyzing the Results
Once you observe visible mold growth in the petri dish or on the swab, it's time to analyze the results. Compare the growth to the reference chart provided in the DIY mold test kit. This will help you determine the type of mold present and its potential health risks.
The End
Using a DIY mold test kit is a practical and cost-effective way to assess the presence of mold in your home. Identifying mold early can help you take the necessary steps to address the issue and create a healthier living environment for your family. Remember that mold can be harmful, so it's essential to approach the testing process with care and follow all safety precautions. By taking proactive measures, you can ensure a mold-free and safer home for you and your loved ones. So, don't hesitate to use a DIY mold test kit if you suspect mold growth in your home and take the first step toward a mold-free living space.
Contact us —
Website — https://www.themoldfacts.com/
Email — moldfacts7@gmail.com


Comments
Post a Comment